Slow-Cooked Melon Preserve
A fragrant, golden melon preserve slow-cooked with sugar until thick and spreadable, updated with a food processor and safe modern canning steps.
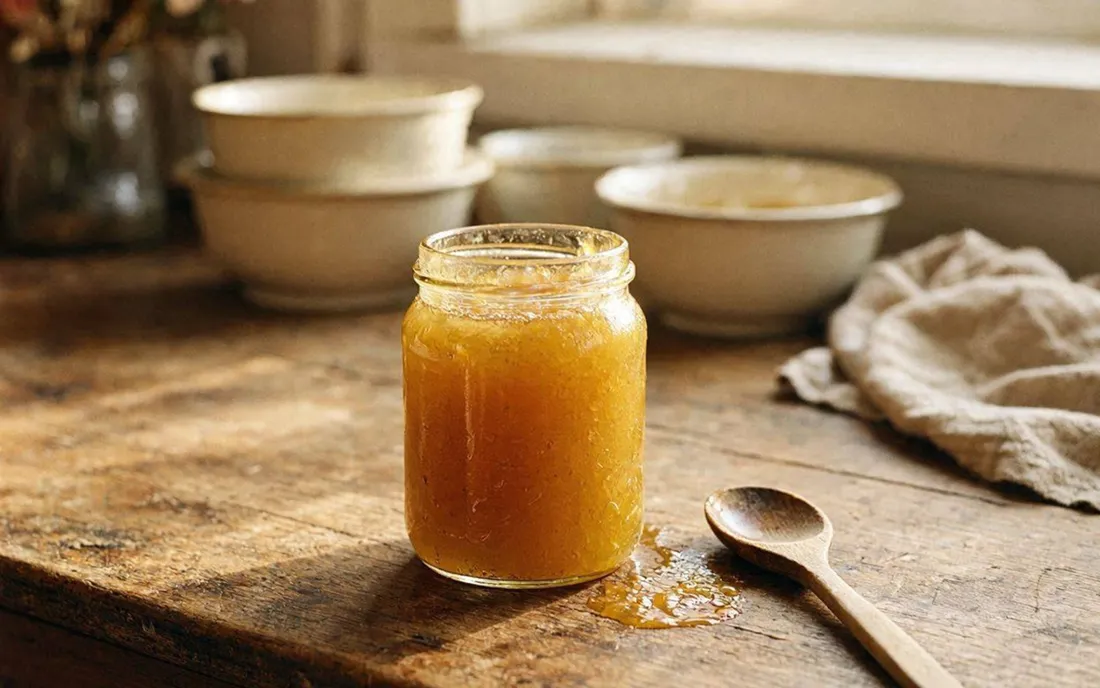
Quick Summary
Melon preserve is a Central European fruit spread made by slow-cooking pureed melon with sugar until thick and golden, ready in about 1 hour 35 minutes. Sugar is added only after the fruit reduces, then jars are sterilized and water-bath processed for safe storage.
Historical recipe
Modernised adaptation of an early 20th‑century source. Not independently kitchen-tested by Attic Recipes. Quantities, temperatures, and food safety guidance have been updated for a contemporary kitchen — results may vary and errors may exist. Nutritional values, where provided, are estimates only and have not been laboratory tested. Always follow current food safety guidelines for your region. If you have a health condition, allergy, or dietary requirement, consult a qualified professional before preparing this recipe.
Use of this recipe is entirely at your own risk and subject to our Terms of Service and Privacy Policy. Attic Recipes accepts no liability for any adverse outcome.
Additional notes
-
Warning
Melon is a low-acid fruit, which makes sealed jars of this preserve more vulnerable to spoilage than jams made from high-acid fruit. Use sterilized jars and process them in a boiling water bath as described to reduce the risk of botulism. Refrigerate and use promptly any jar that does not seal properly. This applies especially to preserves intended for pregnant women, children under 18, elderly, or immunocompromised persons.
- 1
Peel the melon, remove the seeds and membrane, and cut the flesh into rough chunks. Weigh out 1kg of cleaned flesh.
Tip Choose a fully ripe, fragrant melon — the aroma carries through into the finished preserve. - 2
Puree the melon chunks in a food processor until smooth.
Tip This replaces the meat grinder or fine sieve used in period kitchens; a few short pulses are usually enough. - 3
Transfer the puree to a large heavy-bottomed pot. Do not add sugar yet. Cook uncovered over medium heat, stirring occasionally, until the volume has reduced by about half and the mixture has thickened slightly, about 30-40 minutes.
Tip Use a wide pot rather than a deep one — more surface area speeds up evaporation. - 4
Add the 600g sugar and the lemon juice. Stir continuously to dissolve the sugar and prevent scorching. Continue cooking, stirring often, until the preserve thickens and pulls cleanly away from the bottom and sides of the pot when stirred, about 30-40 more minutes.
Tip For a precise endpoint, cook to 104-105°C (220°F) on a candy thermometer, or use the cold plate test. - 5
While the preserve cooks, sterilize the jars and lids: boil them in water for 10 minutes, or heat them in a 130°C (265°F) oven for 10 minutes. Keep them hot until filling.
Tip Sterilization is mandatory for this preserve — melon is a low-acid fruit and unsterilized jars carry a real spoilage risk. - 6
Ladle the hot preserve into the hot, sterilized jars, leaving about 1cm of headspace. Wipe the rims clean and seal with the lids while both the preserve and jars are still hot.
Tip Sealing hot encourages the characteristic thin skin to form on top, as in the original method. - 7
Process the sealed jars in a boiling water bath for 10 minutes to ensure shelf stability.
Tip This step is a modern addition — see the safety note below on why it matters for melon specifically. - 8
Let the jars cool completely, undisturbed, on a folded towel. Check that each lid has sealed (it should not flex when pressed). Label and store in a cool, dark place.
Tip Refrigerate any jar that did not seal properly, and use it within a few weeks.
Nutrition Information per 1 tablespoon (15g)
Nutritional values are approximate estimates and may vary based on specific ingredients used, preparation methods, and portion sizes.
Serving Suggestions
Spread on toast or fresh bread, stirred into plain yogurt, used as a filling for pastries, or served alongside a mild cheese.
About This Recipe
Melon rarely gets the preserving treatment that plums, apricots, or berries do, but a fully ripe, fragrant melon reduces down into a preserve with a deep golden color and a flavor that’s hard to place until someone tells you what it is. The technique is simple: cook the pureed fruit down without sugar first, then sweeten and finish — the same two-stage logic behind most fruit preserves of the era, just applied to a fruit that’s usually eaten fresh.
Because melon is mostly water, this one takes patience rather than skill. The long reduction is what concentrates the flavor and gets the texture right.
Why It Works
Cooking the melon puree before adding sugar lets the fruit release and evaporate most of its water first, which is what allows the preserve to actually thicken rather than staying a thin syrup. Adding sugar too early would slow that evaporation and risk scorching the fruit against the bottom of the pot. Because melon carries little natural acidity compared to fruits like plum or apricot, this version leans on a higher sugar ratio, added lemon juice, and proper jar sterilization with water bath processing to keep the finished preserve safe for shelf storage.
Modern Kitchen Tips
A food processor does in seconds what a meat grinder once took much longer to do, and it’s easier to clean. If your melon is very ripe and juicy, expect the first cooking stage to take longer — let the puree reduce fully before adding any sugar, rather than rushing it. A candy thermometer takes the guesswork out of the finishing point, but the cold plate test works just as well if you don’t have one.
A classic of early 20th century home cooking, preserved and adapted for the modern kitchen.
The Story Behind This Recipe
Historical Context
Early 20th century recipes for this preserve typically called for peeling and seeding the melon, then running it through a meat grinder or passing it through a fine sieve. The pureed fruit was cooked unsweetened first, with sugar added only partway through — both to help the color turn a deep golden yellow and to keep the fruit from scorching before it had released its water. Home cooks judged doneness by how cleanly the mixture separated from the pot when stirred with a wooden spoon, then poured it hot into warmed jars, tied down the tops, and stored them in a cool place. Sugar ratios in period versions were often lower than what modern preservation guidelines recommend, relying more on the hot pour and cool storage than on sugar concentration for keeping quality.
Modern Kitchen Adaptation
A food processor replaces the meat grinder or sieve for pureeing the melon — a few pulses achieve the same smooth texture in a fraction of the time. The sugar ratio has been increased to 600g per kilogram of fruit, the minimum needed for reliable shelf-stable preservation; period versions used considerably less. A small amount of lemon juice has been added, both for flavor balance and as an extra margin of acidity. Because melon is a low-acid fruit, the original method of a simple hot pour and tied-down lid does not meet modern food safety guidance for shelf-stable storage — this version adds mandatory jar sterilization and a boiling water bath processing step to reduce the risk of botulism.
This recipe is an independent modern adaptation developed from historical sources in the public domain. It is provided for informational and educational purposes only and does not constitute professional dietary, nutritional, or medical advice. Food preparation involves inherent risks. The reader assumes full responsibility for safe food handling, ingredient sourcing, and adherence to current local food safety guidelines. The site operator accepts no liability for outcomes resulting from the preparation or consumption of this recipe.
One recipe.
Every week.
You Might Also Like
More recipes you'll enjoy
Melon and Apple Pekmez (Fruit Butter)
A slow-cooked melon and apple fruit butter (pekmez), lightly spiced with cinnamon and canned for shelf-stable keeping.
Grape and Quince Jam
White grape juice and pureed quince are simmered with sugar into a thick, spreadable jam, then jarred for keeping through the winter.
Mixed Fruit and Green Tomato Pekmez
A thick, slow-simmered fruit butter made from grapes, plums, apples, and unripe tomatoes, sweetened lightly and scented with vanilla.