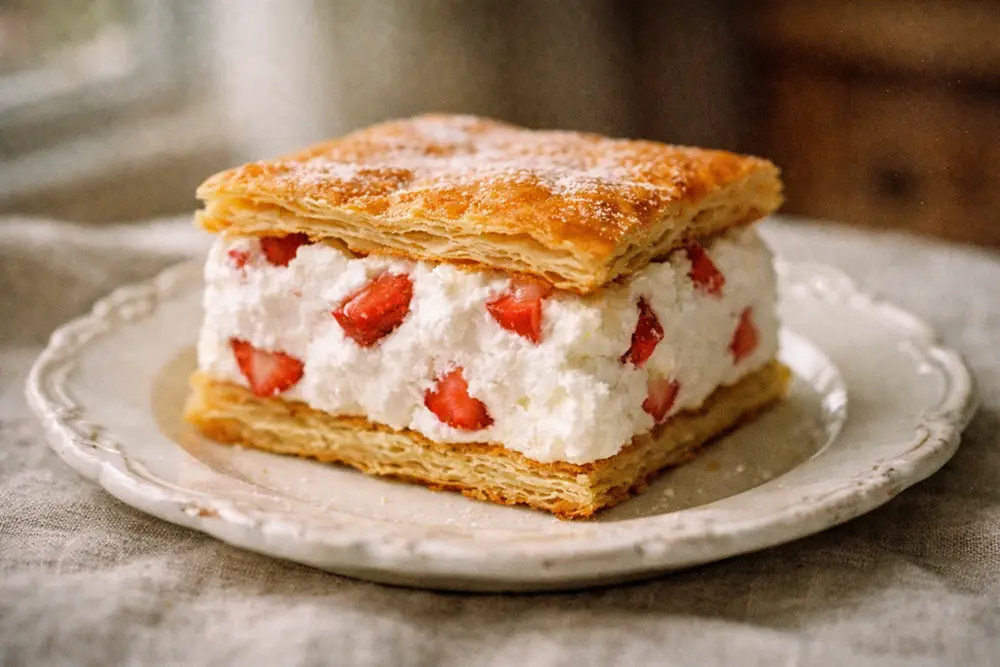
Rough Puff Pastry: The Laminated Dough Behind Šaumpita
How to make rough puff pastry the old way — layered by hand, rested in stages, baked flat. The technique behind the Central European šaumpita.
The Dough That Built Šaumpita
There is a category of pastry that sits between a pie crust and full puff pastry — firm enough to roll wide and thin, but layered enough to shatter into flakes when baked. In Central European home kitchens of the early twentieth century, this was not a specialty technique. It was simply how you made korice — the pastry shells for filled cakes like šaumpita.
The dough has two components made separately and then brought together: a butter-flour paste (the fat layer) and a firmer egg-and-water dough (the base). The lamination happens through a series of folds and rests, each one multiplying the layers without requiring the precision of French puff pastry. The result is what bakers today would call rough puff pastry — known in the regional tradition as šaumkora or simply the korice for šaumpita.
This post walks through the technique: why it works, where it fails, and how to get reliable results without specialized equipment.
Two Doughs, One Pastry
The construction begins with two separate preparations, made one after the other from the same batch of ingredients.
The butter block is a simple mixture of cold butter and a small amount of flour — roughly a 9:1 ratio by weight. The flour helps the butter hold its shape and prevents it from separating when folded into the base dough. Worked briefly by hand, it should come together as a cohesive, pliable mass, then be shaped into a flat rectangle and chilled until firm. This is not a dough — it should not be overworked.
The base dough uses the remaining flour with a small amount of butter, one egg, salt, and enough cold water to bring it together. The texture should be smooth and elastic, similar to a pasta dough — it needs to be kneaded properly, until it no longer sticks to the board or your hands. The egg adds some richness and helps the dough hold together during the aggressive rolling that comes later. Cold water is important: warm water begins to soften the butter prematurely at the folding stage.
Both components go into a cool place to rest before lamination begins. In period kitchens without refrigeration, a cool larder or cellar did this work. A refrigerator works well; the dough should be cold but not rigid.
The Folding Process
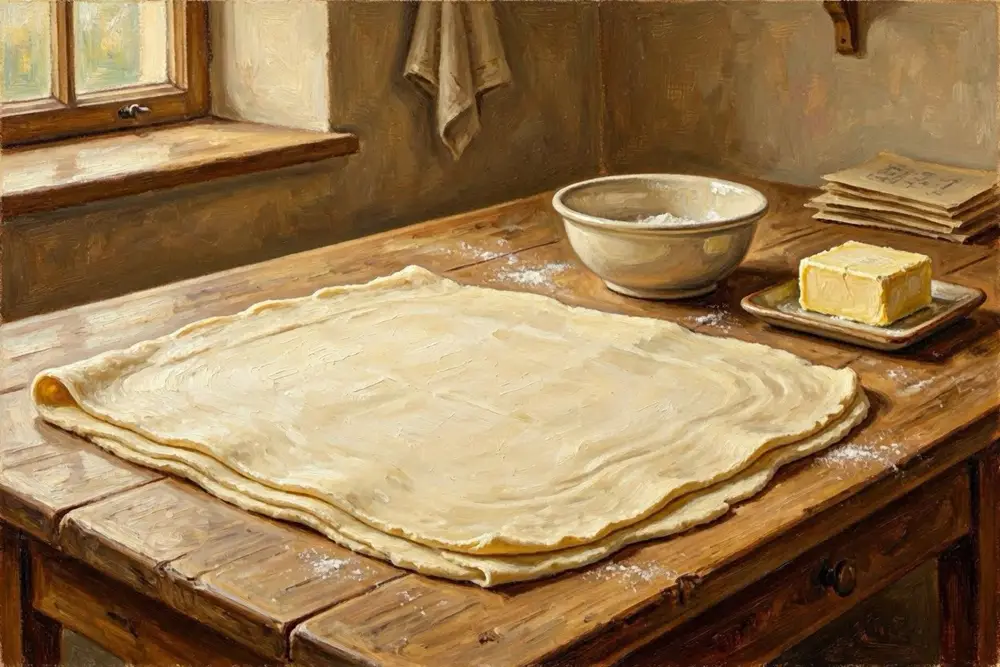
After the base dough has rested — at minimum thirty minutes — roll it out into a wide square. Place the chilled butter block in the center, fold the dough over it like an envelope, and seal the edges by pressing firmly. No butter should be visible through the dough at this point.
Then leave it again. The enclosed dough and butter need at least four hours together before the first roll, long enough for the two components to equalize in temperature and firmness. Rushing this stage is the most common reason the butter breaks through during rolling.
Rolling and folding sequence: Roll the dough out gently in one direction — use a firm, even pressure rather than pressing hard. Fold it into thirds (like a letter), rotate ninety degrees, and repeat. This is one turn. Return it to the cool place to rest for an hour, then repeat the sequence. Three turns in total is the standard for this style of pastry.
A few things to watch:
- If the butter starts to break through the dough surface, stop immediately and chill the dough for twenty minutes before continuing.
- If the dough resists rolling and springs back, it needs more rest — not more force.
- Flour the board lightly but consistently. Too much flour dries the surface; too little and the dough tears.
After the third turn, the lamination is complete.
Rolling Out for Baking
This is where the technique diverges most clearly from modern puff pastry. The goal here is not height — it is width and thinness. The dough is divided into two pieces and each is rolled out to a large, thin sheet: approximately one meter wide and four meters long in period instruction, which translates to a very thin crust, no more than one centimeter thick before the final stretch.
In practice for a home oven, the sheet is rolled to fit the baking tray with some overhang. The important principles are:
- Roll evenly and in alternating directions to keep the sheet from contracting in one axis.
- Do not rush the final roll — if the dough contracts, let it rest five minutes and continue.
- Place the sheet upside down on the baking tray. The underside (which was in contact with the board) is smoother and will give a more even baked surface.
- Prick the entire surface thoroughly with a fork before baking. This prevents steam from lifting the dough into irregular bubbles — the finished sheet should be flat.
Bake until golden and completely crisp. Underbaked šaumkora softens when the filling is applied.
Why the Resting Matters
The layered structure of laminated dough depends entirely on the butter staying separate from the flour matrix during folding. When butter is cold and firm, it stays as distinct sheets between the layers of dough. When it is warm, it absorbs into the flour and the layers merge — you end up with a denser, more homogeneous crust rather than one that shatters.
The gluten in the dough works against you during rolling: it builds up tension with each pass of the rolling pin, making the dough elastic and resistant. Resting between folds allows the gluten strands to relax, which is why the dough becomes easier to roll with each subsequent turn rather than harder.
Cold temperature and time are the two variables that cannot be shortcut. This is a dough that rewards patience and punishes haste at every stage.
Practical Takeaways
- Make both dough components separately and chill both before beginning lamination.
- The butter block should contain a small amount of flour to help it bind — pure butter alone is harder to control.
- Four hours of rest after enclosing the butter is a minimum, not a guideline.
- Three turns with one hour of rest between each is the standard sequence.
- Roll the final sheet thin, place it upside down on the tray, and prick it thoroughly before baking.
- If anything feels wrong during rolling — butter breaking through, dough tearing, excessive springing back — stop and chill rather than pushing through.
The dough is forgiving of imperfect technique as long as the temperature is controlled. Most failures come from heat and impatience, not from the folding itself.
Attic Recipes — digitizing and adapting Central European home cooking from the early twentieth century.
Frequently Asked Questions
01What is the difference between rough puff pastry and classic puff pastry?▶
Classic puff pastry (pâte feuilletée) uses a precise butter block enclosed in dough and requires six or more folds with chilling between each. Rough puff pastry incorporates butter more loosely and typically uses fewer folds, making it practical for home kitchens without sacrificing most of the layering effect.
02Why does the dough need to rest between folds?▶
Resting allows the gluten in the dough to relax and the butter to firm back up. Without resting, the butter melts into the dough rather than staying as distinct layers, and the dough tears when rolled. Cold temperature and rest time are what create the final flakiness.
03Can I use salted butter for šaumpita pastry?▶
Unsalted butter gives you more control, since the dough already contains salt. That said, lightly salted butter was common in period kitchens and works fine — just omit or reduce the added salt in the dough.
04How thin should the final dough be rolled?▶
The dough should reach no more than 1 centimeter in thickness before the final folds. For the baking sheets, it is rolled out much thinner — the goal is a wide, even sheet that bakes flat and crisp.
05Why is the dough placed upside down on the baking sheet?▶
Placing the rolled sheet upside down means the smoother underside faces up, giving a more even surface after baking. Pricking the dough with a fork before baking prevents it from puffing unevenly — the goal is a flat, layered crisp base, not a risen pastry.