Aspic Is a Technique, Not a Dish
How early 20th century cooks made clarified meat jelly from scratch — the bones, the patience, and the linen-straining method that made it work.
Most cold dishes in early 20th century Central European cooking were built on a foundation that no longer exists in most home kitchens: aspic made from scratch. The shimmering, amber jelly that coated a pressed tongue or suspended sliced vegetables in a terrine was not bought in a packet. It was extracted over two days from veal bones, pig skin, and poultry, then clarified through a process that required as much patience as technique.
Understanding aspic as a technique — not a dish — changes how you read an entire category of historical recipes. Tongue in aspic, cold veal scrolls, chilled poultry in sauce: all of them assume you have aspic on hand. It was a kitchen staple, prepared in advance, kept cold, and used across multiple preparations during the week.
This post explains how that process worked, why each step matters, and how to replicate it with modern equipment.
What Aspic Actually Is
Aspic is a clarified, reduced meat stock that contains enough natural gelatin to set firm at refrigerator temperature — without any added setting agent.
The gelatin comes entirely from collagen-rich cuts: veal feet, veal knuckle, pork skin. These are simmered for several hours until the collagen converts to gelatin and dissolves into the liquid. When the liquid cools, it solidifies. When warmed, it liquefies again. This reversibility is what makes aspic useful as a coating, a mould base, and a sauce vehicle.
A well-made aspic has three properties: it sets firm enough to hold a clean slice, it is clear enough to see through, and it carries the deep, round flavour of a properly made meat stock. Achieving all three requires attention at each stage of the process.
The Cuts That Make It Work
The gelatin content of aspic depends entirely on using the right raw materials. Lean muscle meat contributes flavour but almost no gelatin. The cuts that matter are:
Veal feet are the primary gelatin source. The foot contains an extremely high concentration of collagen, particularly in the skin, cartilage, and connective tissue between the bones. A proper aspic typically uses three to four feet for a pot of six to seven litres.
Veal knuckle adds both gelatin and body. The joint is rich in cartilage and marrow, which deepen the flavour alongside the gelatin contribution.
Pork skin supplements the gelatin and helps the aspic set firmly. A small quantity — roughly 125 grams — is sufficient.
Poultry carcass or giblets contribute flavour rather than gelatin. A broken-down carcass or the trimmings from two birds adds the aromatic top note that distinguishes aspic from plain veal stock. Those who could afford it added a whole bird.
The aromatics — carrots, celeriac, onion, parsley, bay leaf, whole peppercorns — are added after the first skimming and serve the same function as in any long-cooked stock.
The Two-Day Process
Aspic is prepared the day before it is needed. This is not optional — the resting overnight step is structurally necessary, not a convenience.
Day One: The Long Simmer
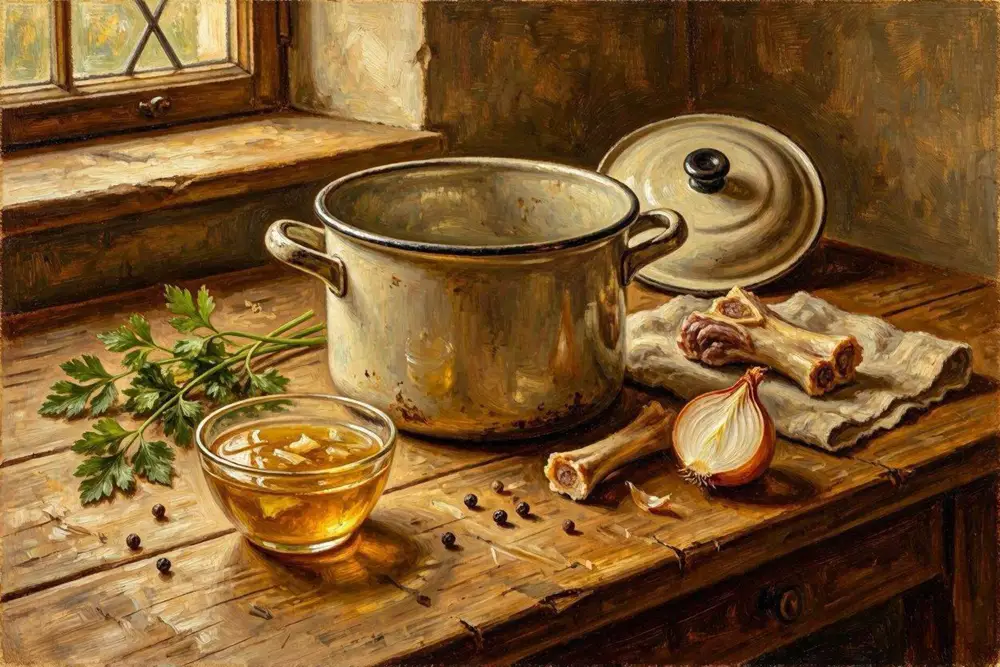
The pot must be enamelled or new. Any chipping or pitting in an old pot can discolour the stock, producing a murky grey rather than a clear amber. This was practical knowledge in a period when cookware was used heavily and aged unevenly.
The bones and skin go into cold water — approximately four litres for the quantities described above. Bringing the liquid slowly to a boil draws impurities to the surface as foam. This foam is skimmed off immediately, then a small amount of cold water is added to briefly drop the temperature. The process repeats once or twice until the foam is white rather than grey, indicating that the primary impurities have been removed.
Once the aromatics are added and the liquid returns to a boil, the heat is reduced significantly. The correct state is not a rolling boil but a slow, steady movement — the surface trembles rather than churns. This gentle simmer continues for around five hours, during which the liquid reduces by approximately one third.
After simmering, the pot is removed from heat and left to settle before straining through a fine-mesh strainer. The liquid is then refrigerated overnight.
Day Two: Defatting and Clarification
Overnight refrigeration solidifies the fat, which rises to the surface and can be lifted off cleanly in one or two pieces. Beneath it is the stock — partially set, cloudy, deeply flavoured.
To produce the clarity that defines finished aspic, the stock is clarified using egg whites. The juice of one lemon is added, along with four lightly beaten egg whites. The mixture is returned to heat and whisked continuously until it approaches a boil. As the egg whites cook, they coagulate and form a raft that attracts and traps the fine particles responsible for cloudiness. The pot is then moved to the edge of the heat — not removed entirely — and left undisturbed while the raft settles and the particles migrate into it.
The result, when strained, should be completely transparent with an amber to golden colour. The flavour at this point is intense and savoury. A small glass of Madeira — approximately 40 ml — is stirred in after straining, adding an aromatic note that rounds the flavour without sweetening it.
The Linen Straining Method
This is the detail that most clearly marks the distance between then and now.
Once clarified, the aspic was strained through a wet linen napkin — not poured through it, but allowed to drip through slowly under its own weight. The napkin was tied at each corner to the upturned legs of a kitchen stool, forming a suspended cradle. A pot was placed beneath. The aspic was ladled in and left to drip through the cloth, which acted as a final filter, removing the egg white raft and any remaining fine particles.
The wet napkin was essential: a dry cloth absorbs liquid and slows the process to the point of impracticality. The slow, gravity-driven flow through wet linen produced a clarity that pouring through a strainer alone could not achieve.
For modern kitchens, a fine-mesh strainer lined with two or three layers of dampened muslin or cheesecloth achieves the same result. The principle is identical — slow passage through wet fine-weave cloth — even if the improvised stool rigging is no longer necessary.
Madeira and Substitutions
Madeira was the wine of choice for finishing aspic in this culinary tradition for reasons of both flavour and practicality. It is a fortified, oxidised wine with a long shelf life and a flavour profile — nutty, slightly caramel, dry to off-dry — that complements the deep savouriness of veal-based stock without competing with it. Its stability meant it could be kept on a kitchen shelf without refrigeration.
In modern kitchens, Madeira is available but not universal. The following substitutions work in descending order of similarity:
- Dry sherry (Fino or Manzanilla) — closest in structure; slightly more saline, less sweet
- Dry white vermouth — herbaceous; changes the flavour profile noticeably but works well
- Dry white wine — adequate, though the flavour contribution is lighter and less complex
- Port (tawny, small quantity) — acceptable if you want a slightly richer, darker aspic; use half the quantity
Sweet wines — medium sherry, sweet Marsala — should be avoided. They push the aspic toward dessert territory and unbalance the savoury base.
What Aspic Was Used For
In early 20th century kitchens, clarified aspic was a weekly preparation that appeared across multiple dishes. Its primary uses:
As a coating — poured over cold meats, poultry, or fish to seal the surface, prevent drying, and add presentation gloss. The meat was typically chilled first; the liquid aspic was poured at the point of beginning to set, just thick enough to cling.
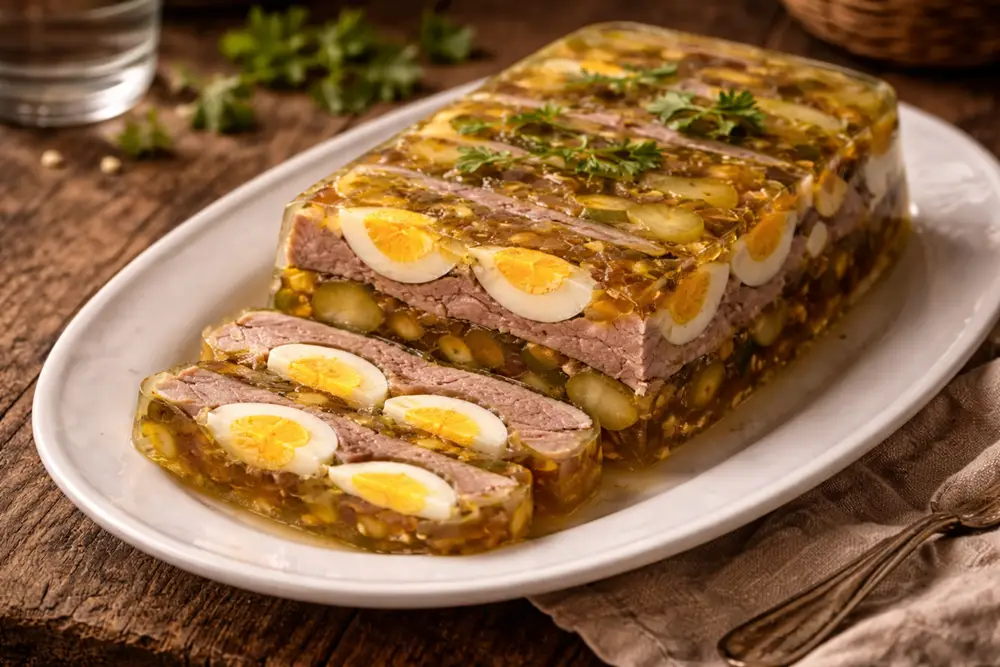
As a mould base — poured into a terrine or loaf tin, set partially, then layered with ingredients (sliced meats, hard-boiled eggs, vegetables) and more aspic. Once fully set and unmoulded, the result was a self-contained cold dish that sliced cleanly.
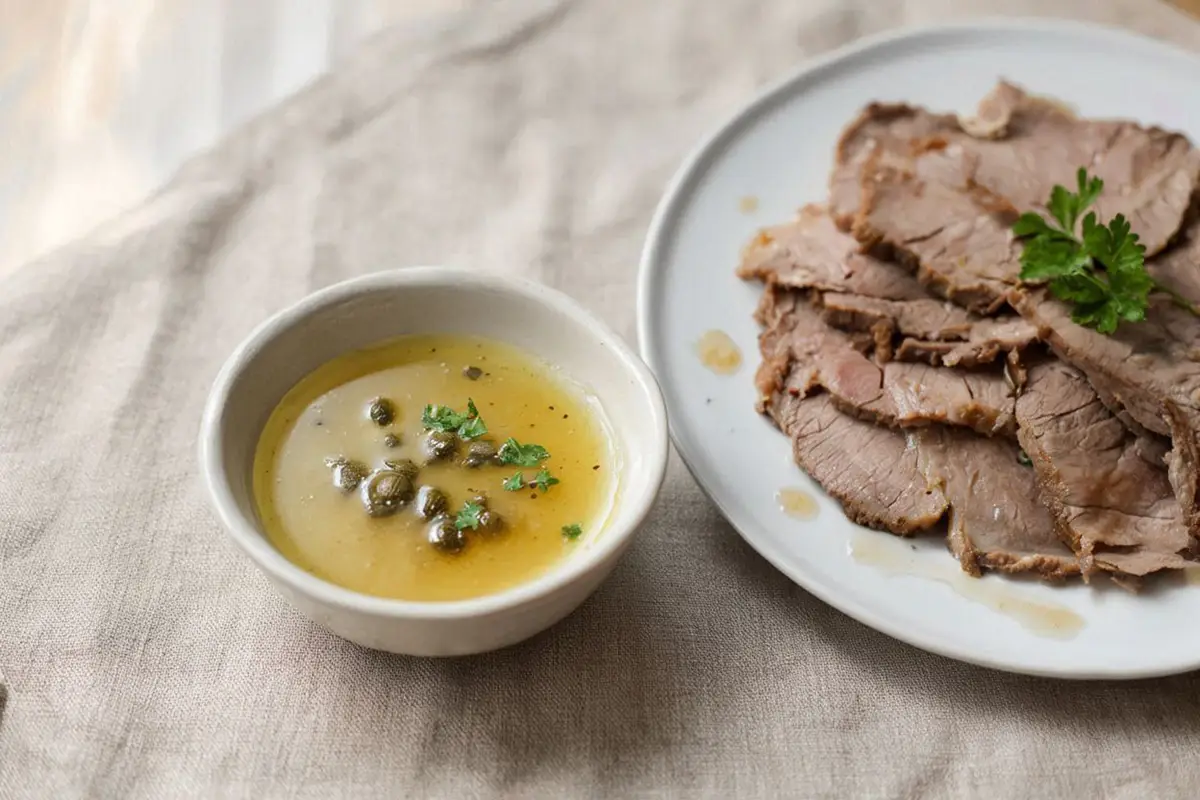
As a sauce vehicle — combined with other ingredients (cream, herbs, mustard) to produce cold sauces that held their consistency on the plate rather than running.
All three applications appear in the related recipes on this site. In each case, the aspic is assumed to be on hand — prepared the day before, stored cold, and reheated gently to liquefy when needed.
Making Aspic Today
The technique is unchanged; the equipment is simpler.
A heavy stainless steel or enamelled cast iron pot replaces the old gleđosani lonac requirement. Modern pots do not chip into food or discolour stock the way old tinned or iron pots did, so any clean, heavy-bottomed pot of appropriate size (six litres or larger) works.
The stool-and-napkin straining rig is replaced by a fine-mesh strainer lined with dampened cheesecloth or muslin, set over a deep bowl. The physics are the same.
A refrigerator handles the overnight resting that a cold larder or cellar once provided.
The rest — the long simmer, the patience with skimming, the egg white clarification, the gentle final straining — remains exactly as it was. Aspic rewards slowness. It cannot be usefully hurried.
Practical Takeaways
Aspic is the base, not the dish. If you plan to make tongue in aspic, cold veal scrolls, or any similar cold preparation from this archive, make the aspic the day before.
Use the right cuts. Veal feet are not optional if you want a firm set without added gelatin. Pork skin supplements the gelatin. Poultry adds flavour. Lean meat alone will not set.
Skim properly and simmer gently. A rolling boil emulsifies fat into the liquid and makes clarification much harder. A gentle, steady movement produces a cleaner stock and a more transparent finished aspic.
Clarify with cold egg whites added to cold stock, then heat together while whisking. Once the raft forms, stop whisking and let it work undisturbed.
Strain through wet cloth, not dry. Finish with a small amount of dry Madeira or equivalent.
Refrigerated, it keeps for five days. Frozen, up to three months.
Attic Recipes — digitizing and adapting Central European home cooking from the early twentieth century.
Frequently Asked Questions
01What is aspic made from?▶
Traditional aspic is made by simmering collagen-rich cuts — veal feet, veal knuckle, pork skin, and poultry carcasses — for several hours until the liquid sets naturally when cold. No added gelatin is used.
02Can I substitute Madeira wine in aspic?▶
Yes. A dry sherry or dry white vermouth works well. A light dry white wine is also acceptable, though the flavour will be less complex. Avoid sweet wines, which unbalance the savoury base.
03Why does aspic need to be clarified?▶
Long simmering extracts not just gelatin but also fine particles that cloud the liquid. Clarification — using egg whites to attract and trap those particles — produces the clear, amber jelly that defines a properly made aspic.
04How long does homemade aspic keep?▶
Refrigerated in a clean, covered container, clarified aspic keeps for up to five days. It can also be frozen for up to three months; reheat gently to re-liquefy before use.
05Is aspic the same as stock or bone broth?▶
Aspic starts as a stock, but it is reduced by roughly a third, clarified, and contains enough natural gelatin to set firm at refrigerator temperature. Ordinary stock does not set; aspic is specifically engineered to do so.