No-Bake Pineapple Cream
A light, chilled pineapple cream made with canned pineapple, gelatin, and whipped cream — no oven required, just a few hours to set.
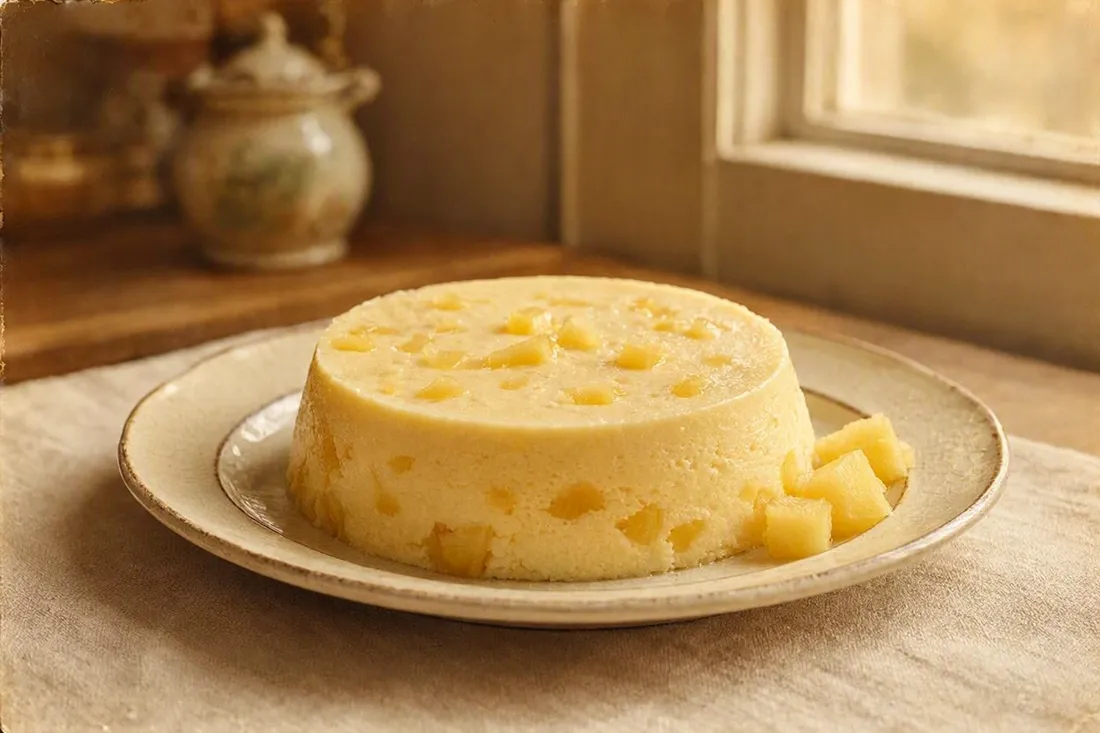
Quick Summary
This chilled pineapple cream sets with gelatin and whipped cream, no baking needed. It takes about 25 minutes active prep, plus a few hours to set. The result is a light, fruity dessert with a mousse-like texture, typical of early 20th century Central European kitchens.
Historical recipe
Modernised adaptation of an early 20th‑century source. Not independently kitchen-tested by Attic Recipes. Quantities, temperatures, and food safety guidance have been updated for a contemporary kitchen — results may vary and errors may exist. Nutritional values, where provided, are estimates only and have not been laboratory tested. Always follow current food safety guidelines for your region. If you have a health condition, allergy, or dietary requirement, consult a qualified professional before preparing this recipe.
Use of this recipe is entirely at your own risk and subject to our Terms of Service and Privacy Policy. Attic Recipes accepts no liability for any adverse outcome.
- Dairy
- Tree Nuts
Additional notes
-
Note
This recipe uses almond oil to grease the mold, which may leave trace amounts in contact with the finished dessert — worth noting for anyone with a tree nut allergy.
Substitute a neutral oil, such as sunflower or a flavorless vegetable oil, or a non-stick spray, to eliminate tree nut contact entirely.
- 1
Drain the canned pineapple, reserving 250ml (1 cup) of the juice. Cut half of the pineapple into small cubes; purée the other half until smooth.
- 2
In a small saucepan, warm the reserved pineapple juice with the lemon juice and sugar over low heat, stirring until the sugar fully dissolves.
Tip Keep the heat gentle — there's no need to bring this to a boil, just dissolve the sugar. - 3
Meanwhile, soak the gelatin sheets in a bowl of cold water for about 5 minutes until softened. Squeeze out the excess water, then stir the gelatin into the warm juice mixture until fully dissolved.
Tip Keep the juice mixture below a simmer while the gelatin dissolves, or it will lose its setting power. - 4
Stir the puréed pineapple into the gelatin mixture and let it rest at room temperature for about 10 minutes.
- 5
Whip the heavy cream to soft peaks.
- 6
Fold the whipped cream into the pineapple mixture until fully combined, then fold in the cubed pineapple.
- 7
Lightly grease a mold with the almond oil, draining off any excess, then pour in the pineapple cream.
- 8
Refrigerate for at least 3 hours, or until fully set.
Tip The original recipe called for chilling the mold directly on ice; a refrigerator gives the same result. - 9
Briefly dip the mold in warm water to loosen the edges, then unmold onto a plate and serve.
Nutrition Information per 1 serving (approx 135g)
Nutritional values are approximate estimates and may vary based on specific ingredients used, preparation methods, and portion sizes.
Serving Suggestions
Serve chilled, topped with a few extra pineapple pieces or toasted coconut flakes. A crisp shortbread biscuit on the side rounds it out nicely.
About This Recipe
A chilled pineapple cream like this one made good use of canned fruit, a pantry staple that let home cooks bring a bit of the tropics to the table regardless of season. Rather than baking, the fruit is set into a soft, mousse-like cream using gelatin and whipped cream — an approach that turns a can of pineapple into something that feels considerably more special.
Part of what makes this version interesting is the texture contrast: half the pineapple is puréed into the base, while the other half is folded in as small cubes, giving the finished cream both a smooth body and little bursts of fruit throughout. A touch of lemon juice keeps the sweetness from tipping into flat or cloying territory.
Molds for gelatin desserts like this one were traditionally oiled before filling, which allowed the set cream to release cleanly once turned out — a small technique that made a real difference in presentation, back when this kind of dessert was chilled on ice rather than in a refrigerator.
Why It Works
Using canned rather than fresh pineapple isn’t just a matter of convenience here — it’s essential to the recipe actually working. Fresh pineapple contains bromelain, an enzyme that breaks down proteins, including the very proteins gelatin relies on to set. A gelatin dessert made with fresh pineapple simply won’t firm up. The canning process involves enough heat to deactivate bromelain, which is exactly why this style of recipe leans on tinned fruit. As with any gelatin-set cream, folding in whipped cream introduces air into the mixture, giving it a lighter, mousse-like texture rather than a dense, solid gel.
Modern Kitchen Tips
Taste the juice and sugar mixture before adding the gelatin — canned pineapple varies in sweetness, and you may want to adjust the sugar slightly. Work fairly quickly once the whipped cream is folded in, since the gelatin will start to firm up as the mixture cools. Like most gelatin desserts, this one can be made a day ahead and kept covered in the refrigerator until ready to unmold and serve.
A classic of early 20th century home cooking, preserved and adapted for the modern kitchen.
The Story Behind This Recipe
Historical Context
Canned fruit gave early 20th century home cooks access to tropical fruit that would otherwise have been unavailable or expensive out of season, and pineapple became a popular choice for molded creams and gelatin desserts of the period. Oiling a mold with almond oil before pouring in a gelatin dessert was a common technique for a clean release, well before nonstick cookware existed. Like other molded desserts of the era, this one was traditionally chilled on ice rather than in a mechanical refrigerator, then unmolded just before serving.
Modern Kitchen Adaptation
Canned pineapple size wasn't specified in the original, so this recipe assumes a standard can sized around the quarter-liter of juice called for — adjust slightly if your can yields more or less liquid. Gelatin sheet weight has also been standardized to roughly 2g per sheet. The gelatin is bloomed in cold water before being dissolved, rather than added directly to the hot sugar syrup as in the original — this produces a smoother, lump-free set. Canned pineapple is essential here rather than fresh: the canning process deactivates bromelain, an enzyme in raw pineapple that breaks down gelatin's proteins and would otherwise prevent the cream from setting at all. If substituting fresh pineapple, it must be boiled for a few minutes first to neutralize the enzyme. Almond oil for greasing the mold can be swapped for a neutral oil or non-stick spray for anyone with a tree nut allergy. Chilling on ice has been replaced with standard refrigeration.
This recipe is an independent modern adaptation developed from historical sources in the public domain. It is provided for informational and educational purposes only and does not constitute professional dietary, nutritional, or medical advice. Food preparation involves inherent risks. The reader assumes full responsibility for safe food handling, ingredient sourcing, and adherence to current local food safety guidelines. The site operator accepts no liability for outcomes resulting from the preparation or consumption of this recipe.
One recipe.
Every week.
You Might Also Like
More recipes you'll enjoy
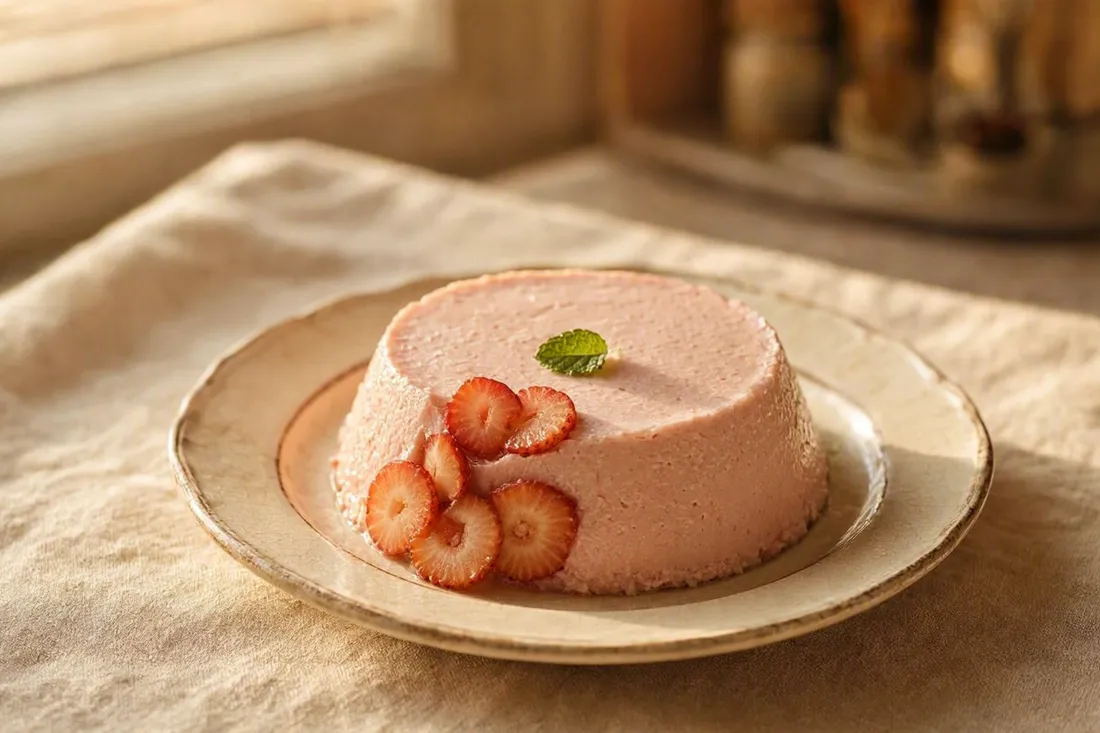
No-Bake Strawberry Cream
A silky, chilled strawberry cream made with fresh strawberries, gelatin, and whipped cream — no oven required, just a few hours to set.
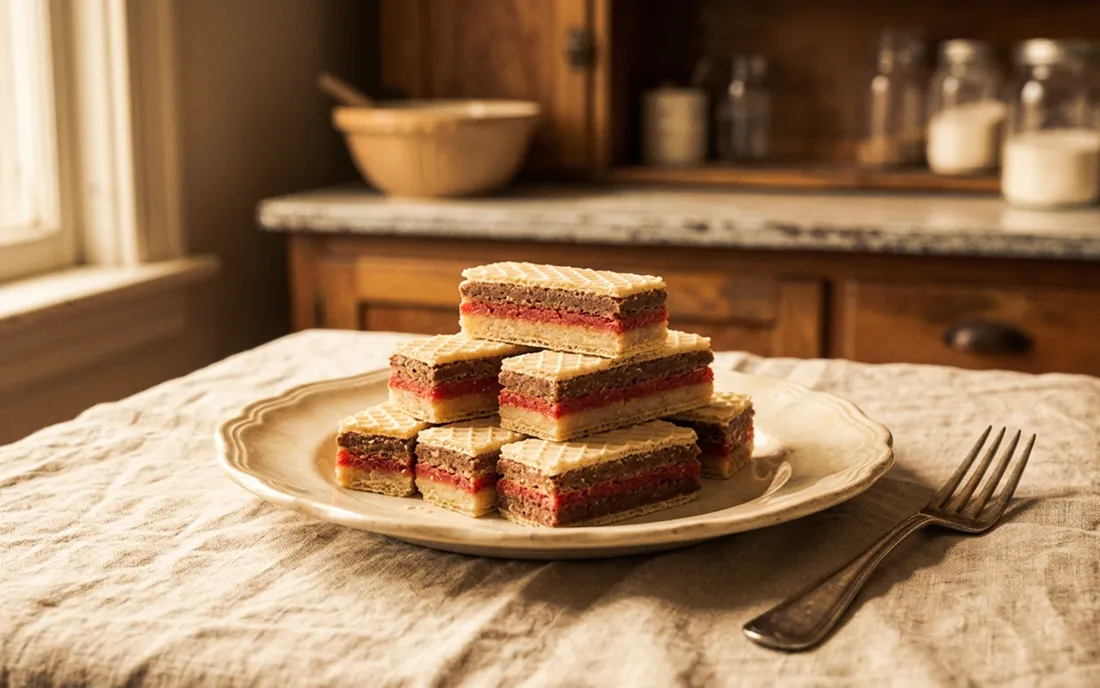
Vegan Almond Wafer Bars (Three-Layer)
Dairy-free, egg-free almond wafer bars in three colorful layers — a no-bake Lenten dessert built from almond paste and crisp wafer sheets.
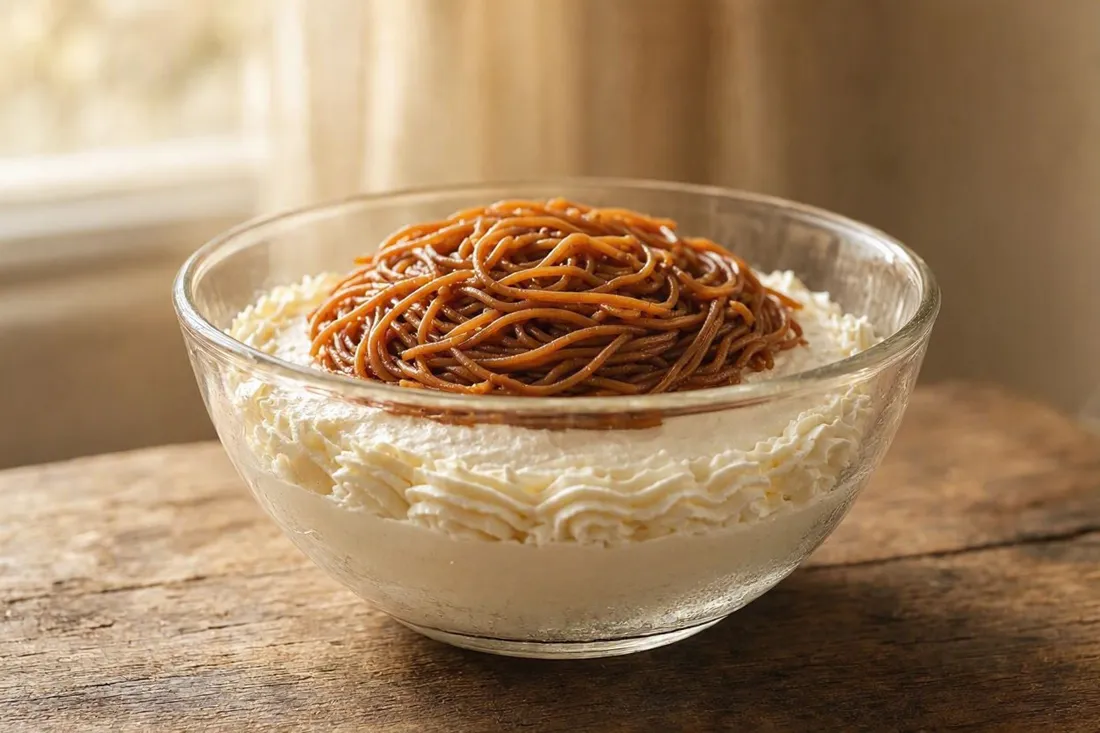
Chestnut Purée with Whipped Cream
Sweetened chestnut puree is pressed through a ricer over whipped cream and finished with a piped border of cream — a rich chestnut dessert.