Candied Watermelon Rind
A frugal preserve made from watermelon rind, slow-cooked in vanilla-lemon sugar syrup until tender and glossy. Traditionally served with coffee.

Quick Summary
This Central European preserve simmers blanched watermelon rind in a lemon-vanilla sugar syrup until translucent and glossy. Taking 120 minutes of active cooking, it yields a dense, chewy sweet traditionally served by the spoonful alongside coffee.
Historical recipe
Modernised adaptation of an early 20th‑century source. Not independently kitchen-tested by Attic Recipes. Quantities, temperatures, and food safety guidance have been updated for a contemporary kitchen — results may vary and errors may exist. Nutritional values, where provided, are estimates only and have not been laboratory tested. Always follow current food safety guidelines for your region. If you have a health condition, allergy, or dietary requirement, consult a qualified professional before preparing this recipe.
Use of this recipe is entirely at your own risk and subject to our Terms of Service and Privacy Policy. Attic Recipes accepts no liability for any adverse outcome.
Additional notes
-
Warning
Involves boiling sugar syrup, which can cause severe burns on contact with skin. Use caution when adding rind to hot syrup and when ladling into jars.
-
Warning
Watermelon rind is a low-acid vegetable. Jars must be properly sterilized, hot-filled, and processed in a boiling water bath to prevent botulism risk — sugar content alone is not a safe preservation method. Pregnant women, young children, older adults, and immunocompromised individuals should avoid any jar with an uncertain or failed seal.
If you prefer not to water bath process, store the finished preserve in the refrigerator and use within a few weeks.
- 1
Trim the watermelon rind, removing the dark green outer skin and any remaining red flesh, leaving the firm pale layer. Cut into even cubes or strips, about 3-4cm.
- 2
Place the rind in a pot, cover with water, and bring to a boil. Boil until the water reaches a rolling boil 4-5 times, then drain and replace with fresh boiling water. Repeat for a minimum of 6 changes of water.
Tip Six changes is the minimum — thicker or more bitter rind may need more. Each change softens the rind and draws out bitterness. The rind should turn tender and translucent, never mushy. - 3
Transfer the blanched rind to a large bowl and cover with cold water. Refrigerate and change the water 3-4 times over 24 hours.
Tip This passive soak firms the rind back up after blanching and is not part of active cooking time. - 4
Drain the rind thoroughly in a colander for 20-30 minutes, discarding the soaking water.
- 5
In a wide, heavy-bottomed pot, combine the {0002} and {0003}. Bring to a boil, skimming off any foam, and cook until the syrup reaches the light thread stage (about 110-113°C / 230-235°F).
Tip # estimated technique — the original recipe describes only 'the desired thickness.' If you don't have a thermometer, use the cold water test: a drop of syrup should form a loose, barely-holding thread rather than a firm ball. - 6
Lower the drained rind into the hot syrup and simmer for 15 minutes.
- 7
A few minutes before the end of cooking, stir in the {0004} and {0005}. Skim off any remaining foam.
- 8
Remove from heat and let cool completely in the pot, covered, before jarring.
- 9
Ladle the cooled preserve into sterilized glass jars while still fluid enough to pour, leaving 1cm headspace. Seal and process in a boiling water bath for 10 minutes (pint-size jars), then check seals before storing.
Tip Watermelon rind is a low-acid vegetable — do not skip water bath processing even though the syrup is heavily sweetened. Unprocessed jars must be refrigerated and used within a few weeks.
Nutrition Information per 1 tablespoon (approx 20g)
Nutritional values are approximate estimates and may vary based on specific ingredients used, preparation methods, and portion sizes.
Serving Suggestions
Traditionally served in small portions alongside coffee — a teaspoon of the preserve on a small saucer, with a glass of cold water on the side, a hospitality custom that predates espresso culture in the region. Today it's just as often eaten straight from the jar with a spoon, coffee or not.
About This Recipe
There’s a particular kind of kitchen thinking behind this preserve: nothing gets thrown away if it can be turned into something worth keeping. The thick white layer of watermelon rind, usually destined for the compost, becomes the entire point of the recipe once it’s blanched through multiple changes of water and left to firm up in a cold soak overnight.
What makes this technique interesting is the patience it demands before any sugar even enters the picture. The rind is cooked, drained, cooled, and re-soaked purely to change its texture — coaxing out bitterness and toughening it just enough that it can hold its shape through a long simmer in syrup without turning to mush.
The result sits somewhere between a candy and a preserve: firm, translucent pieces suspended in a glossy, lemon-brightened syrup, meant to be eaten a spoonful at a time rather than by the jar.
Why It Works
The repeated blanching does two jobs at once. Each change of boiling water leaches out compounds that make raw rind taste bitter or grassy, while the heat begins to break down the pectin structure just enough for the rind to become tender. The cold soak that follows reverses part of that softening — cold water causes the cell walls to firm back up, which is what keeps the rind from disintegrating once it hits the hot sugar syrup.
Cooking the rind directly in a concentrated syrup, rather than in a diluted one, works on the same principle used in candying fruit generally: high sugar concentration draws water out of the rind by osmosis while sugar moves in to replace it, which is what gives the final texture its dense, slightly chewy bite and lets the preserve keep well.
Modern Kitchen Tips
Don’t rush the blanching stage — if the rind still tastes bitter after six changes of water, do one or two more before moving on. A candy thermometer takes the guesswork out of the syrup stage, but the cold water test works just as well once you’ve done it a couple of times. When jarring, work while the mixture is still warm and pourable; it thickens quickly once it starts to cool.
A classic of early 20th century home cooking, preserved and adapted for the modern kitchen.
The Story Behind This Recipe
Historical Context
Watermelon rind preserves were a practical answer to a simple problem: the thick white layer between skin and flesh made up a large share of the fruit's weight and was otherwise discarded. Early 20th century home cooks turned it into a spoon preserve by repeated blanching to soften and de-bitter the rind, followed by a long cook in heavy sugar syrup. The traditional approach did not specify an exact syrup thickness, relying instead on visual judgment built up over years of making it. Home cooks of the period stored the finished preserve in small jars covered with a cloth soaked in spirit or wax, sealed only by the sugar concentration itself and the thickness of the syrup.
Modern Kitchen Adaptation
The syrup's cooking point is given here as an estimated temperature range (light thread stage), since the original only described 'the desired thickness' — a cold water test can be used instead of a thermometer. Lemon juice quantity is estimated in millilitres from the original's per-kilogram ratio, and vanilla bean quantity is estimated since the original gives no amount. The biggest change is in preservation: the original method of covering jars with a damp cloth is not a safe seal by modern standards. Watermelon rind is a low-acid vegetable, so this version calls for sterilized jars, hot-filling, and water bath processing to prevent spoilage and botulism risk — not just sugar concentration and a cloth cover.
This recipe is an independent modern adaptation developed from historical sources in the public domain. It is provided for informational and educational purposes only and does not constitute professional dietary, nutritional, or medical advice. Food preparation involves inherent risks. The reader assumes full responsibility for safe food handling, ingredient sourcing, and adherence to current local food safety guidelines. The site operator accepts no liability for outcomes resulting from the preparation or consumption of this recipe.
One recipe.
Every week.
You Might Also Like
More recipes you'll enjoy
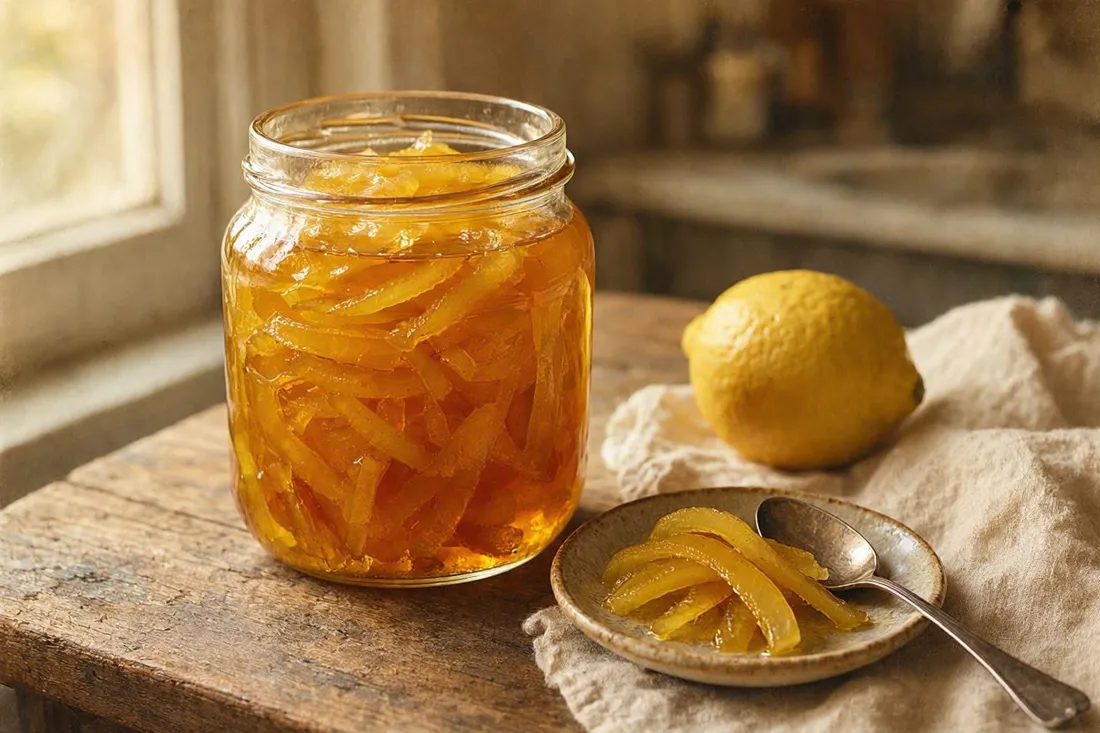
Candied Lemon Peel Spoon Sweet
Lemon peel cut into decorative strips or rounds, blanched to mellow its bitterness, then candied in a thick lemon-scented sugar syrup.
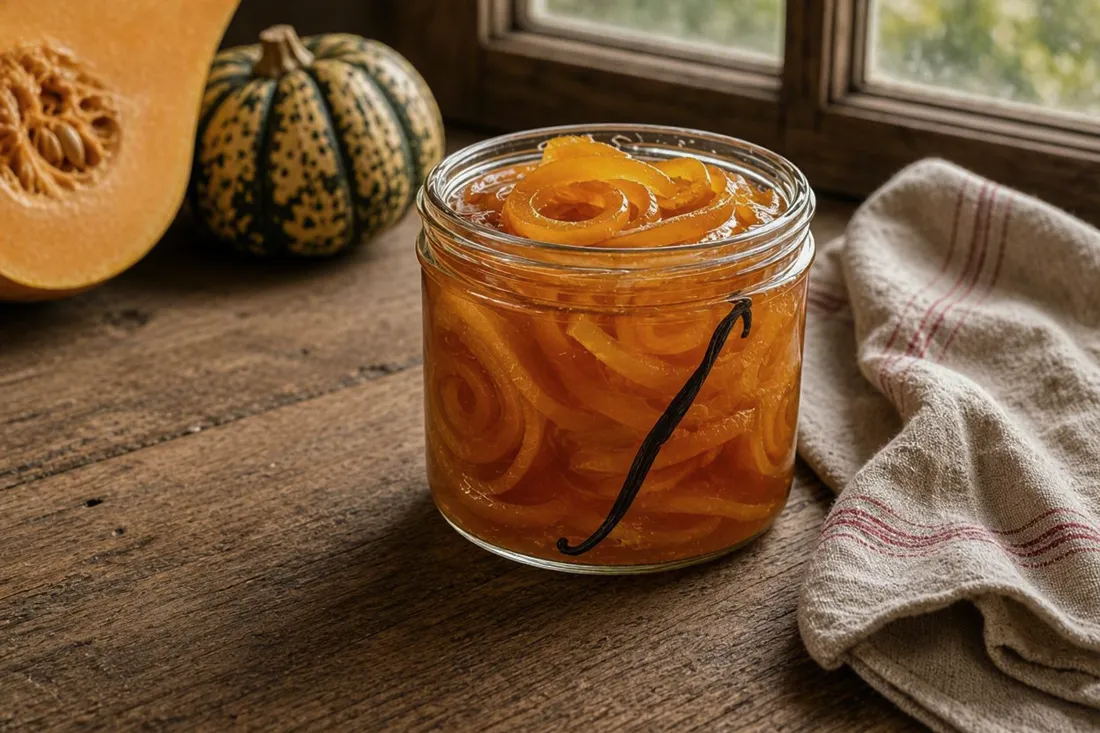
Candied Pumpkin Spoon Sweet in Vanilla Syrup
Firm pumpkin spirals, blanched tender, slowly candied in a vanilla-lemon sugar syrup until the syrup reaches the thickness of honey.
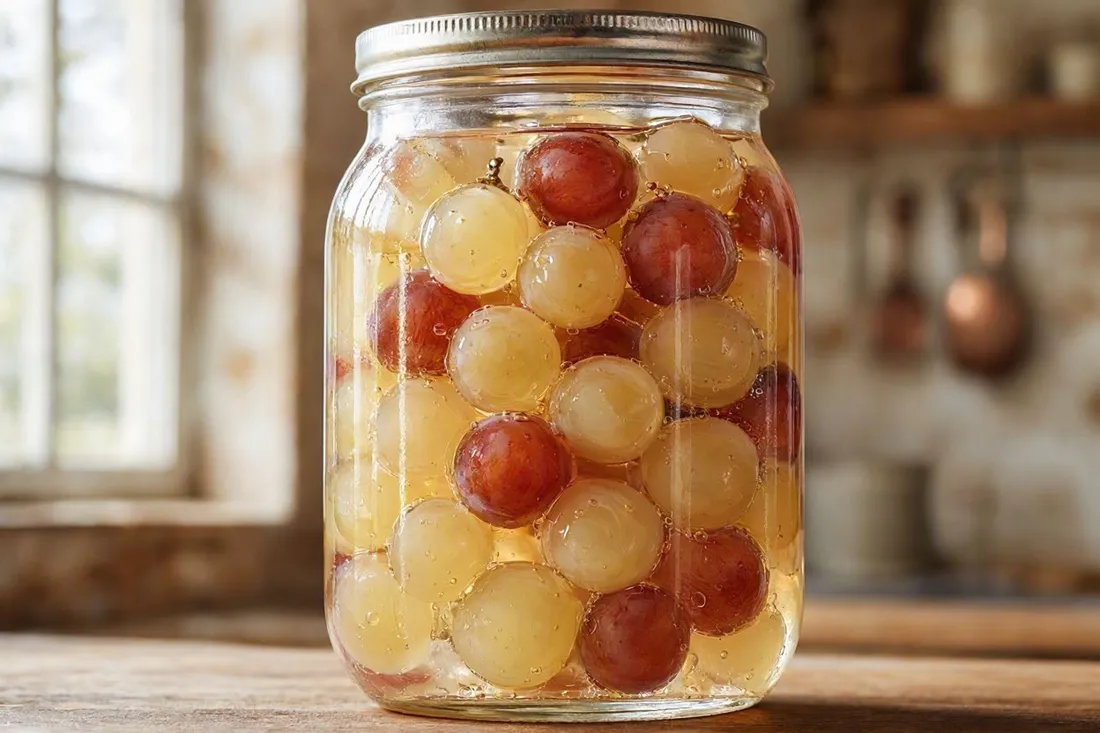
Grape Compote in Syrup
Small clusters of grapes are packed into jars and covered with a light sugar syrup, then home-canned for a stable preserve to enjoy through the colder months.