Blood Orange Cream Torte
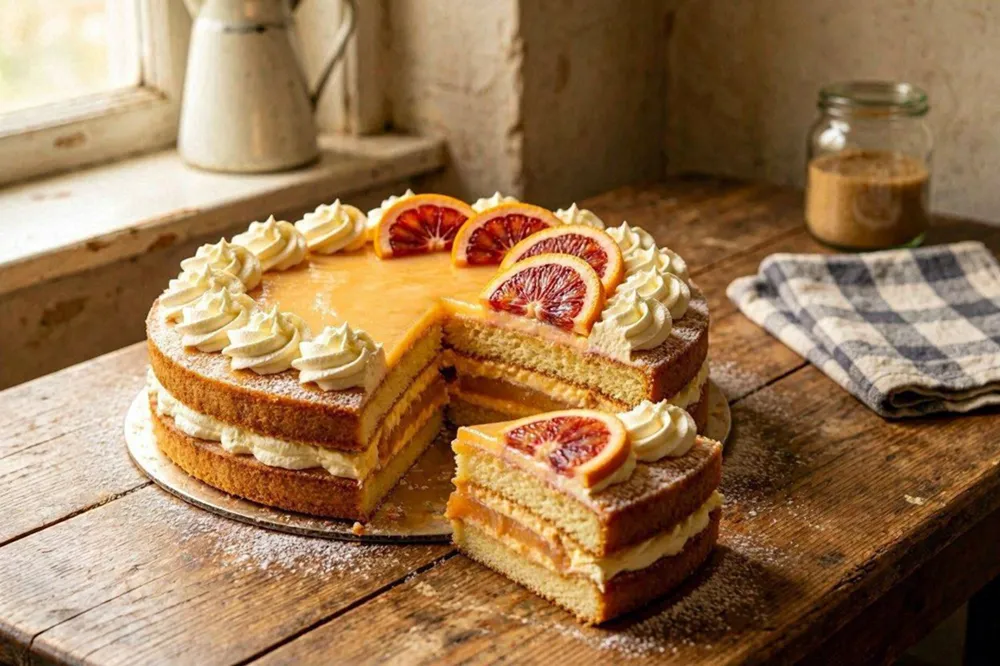
Three thin sponge layers filled with a gelatin-set blood orange and whipped cream filling, chilled until sliceable and finished with cream and citrus.
Quick Summary
Blood Orange Cream Torte is a Central European dessert of three thin sponge layers filled with a gelatin-set blood orange and whipped cream filling. It takes about 85 minutes, with a light, sliceable filling and a fresh citrus flavor.
Historical recipe
Modernised adaptation of an early 20th‑century source. Not independently kitchen-tested by Attic Recipes. Quantities, temperatures, and food safety guidance have been updated for a contemporary kitchen — results may vary and errors may exist. Nutritional values, where provided, are estimates only and have not been laboratory tested. Always follow current food safety guidelines for your region. If you have a health condition, allergy, or dietary requirement, consult a qualified professional before preparing this recipe.
Use of this recipe is entirely at your own risk and subject to our Terms of Service and Privacy Policy. Attic Recipes accepts no liability for any adverse outcome.
- Eggs
- Dairy
- Gluten
Additional notes
-
Note
This is a rich, cream-based dessert with a notable amount of saturated fat per slice. Those managing cholesterol or heart health, and pregnant women watching saturated fat intake, may want to keep portions modest.
- 1
Preheat the oven to 180°C (350°F) / 160°C fan. Line the base of a 24cm round cake pan with parchment paper.
- 2
In a large bowl, whisk the {0001} and {0002} together until thick and pale. Fold in the {0003}, then gently fold in the {0004} until just combined — do not overmix, or the batter will lose volume.
- 3
Divide the batter into 3 equal portions. Working one layer at a time, spread a portion thinly across the base of the prepared pan and bake for 12-15 minutes, until just set and lightly golden. Let each layer cool completely before removing from the pan and baking the next.
- 4
For the filling: combine the juice and chopped flesh of the {0005} with the {0006} in a bowl. Let stand until the sugar has dissolved, stirring occasionally.
- 5
Soak the {0007} in cold water for about 5 minutes to soften, then squeeze out the excess water. Place the softened gelatin in a small saucepan with the {0008}, set the saucepan inside a larger pot of simmering water (a bain-marie), and heat gently until the gelatin has fully melted.
- 6
Remove the gelatin from the heat and let it cool until only lukewarm — not hot. Whisking constantly, gradually add the lukewarm gelatin to the orange mixture in a thin stream; if the gelatin is too hot, the orange juice will discolor.
- 7
Let the mixture rest for 8-10 minutes, then stir well and gently fold in the {0009}.
- 8
Assemble the torte in a springform pan: place one sponge layer at the base, spread with a portion of the filling, add the second sponge layer, spread with more filling, add the final sponge layer, and top with the remaining filling.
- 9
Chill the assembled torte in the refrigerator until the filling is fully set.
- 10
Unmold the torte, decorate the top with the {0010}, and finish with slices of {0011}.
Nutrition Information per 1 slice (1/12 of torte)
Nutritional values are approximate estimates and may vary based on specific ingredients used, preparation methods, and portion sizes.
Serving Suggestions
Slice with a warm, clean knife for neat layers. This is a rich, cream-based dessert, so smaller slices go a long way — pair with an unsweetened black tea or coffee to cut through the richness. Store covered in the refrigerator and finish within 2-3 days, as the cream and gelatin filling is perishable.
About This Recipe
This is a torte built the way home bakers built them before refrigeration made things easier: three whisper-thin sponge layers, baked one at a time from a single batch of batter, then filled with a citrus cream set just firm enough to slice cleanly. The filling owes its structure not to a baked custard but to gelatin — a technique that let cooks get a clean, sliceable cream filling without a second round of baking.
Blood oranges give the filling a deeper color and a slightly winier edge than a standard orange would, though the technique is genuinely fruit-agnostic — the same cake was made with strawberries or raspberries once the oranges were out of season.
Why It Works
The sponge layers are deliberately lean — just yolks, a little flour, and whipped whites for lift — so they stay thin and light rather than competing with the filling. The real technical care goes into the filling: the gelatin has to be fully melted but no more than lukewarm when it meets the orange juice, since citrus juice is acidic enough to discolor and lose freshness if it’s hit with hot liquid. Whipped cream folded in at the end keeps the filling light rather than dense, while still giving it enough structure to hold its shape once chilled.
Modern Kitchen Tips
If you’d rather not juggle baking three layers from one pan in sequence, split the batter across three same-size pans and bake them together — just watch the layers closely, as they’re thin and can go from done to dry quickly. For the strawberry or raspberry version mentioned in the original: purée the fruit in place of the orange juice and flesh, and follow the rest of the method exactly as written.
A classic of early 20th century home cooking, preserved and adapted for the modern kitchen.
The Story Behind This Recipe
Historical Context
Home cooks of the period built this type of torte from very thin, individually baked sponge layers, filled with a citrus cream set with gelatin rather than baked custard. Chilling was done on ice rather than in a refrigerator, since domestic refrigeration was not yet standard — a torte like this one was typically left to set for about 2 hours before unmolding. The same base method was used year-round with whatever fruit was in season, most often blood oranges in winter and strawberries or raspberries in summer.
Modern Kitchen Adaptation
Oven temperature, bake time, pan size, and chilling time were not specified in the original and have been estimated based on standard practice for a thin whisked sponge and a gelatin-set cream filling; these are marked as estimated. 'Setting on ice' has been adapted to refrigeration until the filling is fully set, which will generally take longer than the original 2 hours (allow at least 3-4 hours, or overnight for the cleanest slices). Gelatin sheet strength varies by brand, so a powdered gelatin equivalent has been given as an alternative. No egg is used raw in the finished torte — the yolks and whites are fully baked into the sponge layers, and the filling itself contains no egg.
This recipe is an independent modern adaptation developed from historical sources in the public domain. It is provided for informational and educational purposes only and does not constitute professional dietary, nutritional, or medical advice. Food preparation involves inherent risks. The reader assumes full responsibility for safe food handling, ingredient sourcing, and adherence to current local food safety guidelines. The site operator accepts no liability for outcomes resulting from the preparation or consumption of this recipe.
One recipe.
Every week.
You Might Also Like
More recipes you'll enjoy
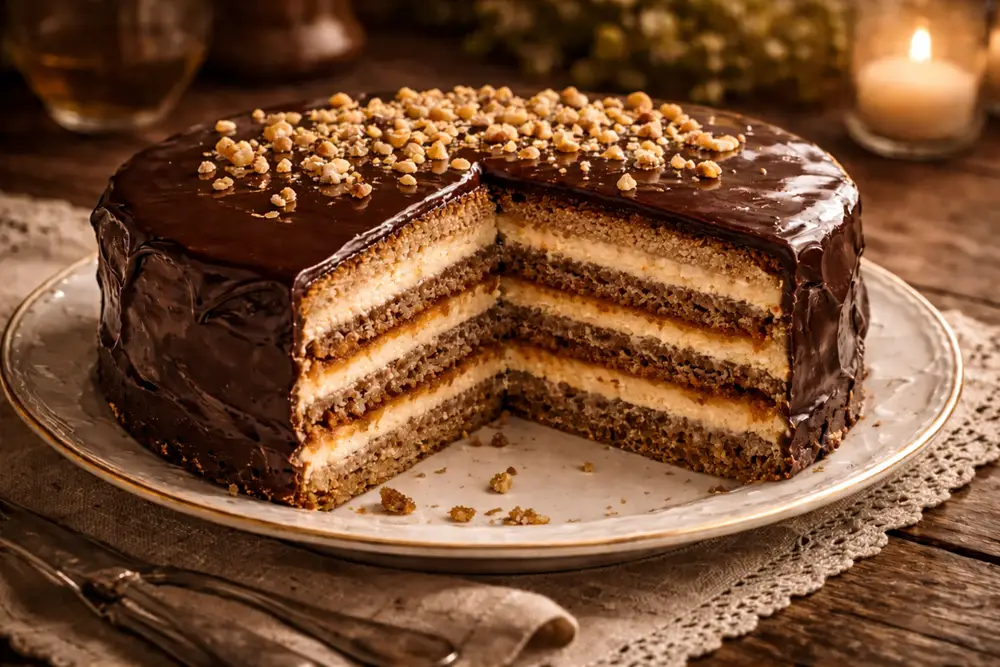
Schubert's Cake
Two contrasting sponge layers, almond-chocolate and walnut, cut and stacked with apricot jam and a cooked vanilla buttercream, finished with chocolate glaze.
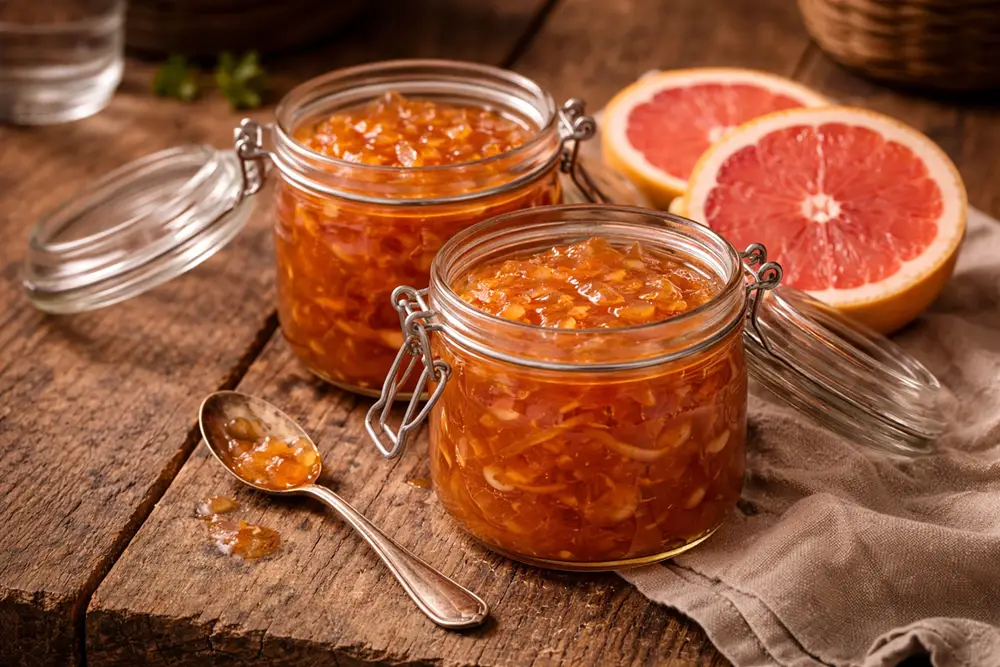
Grapefruit Marmalade
A bitter-sweet marmalade of grapefruit and lemon, slow-cooked after an overnight soak — a classic Central European preserve from the early 20th century.
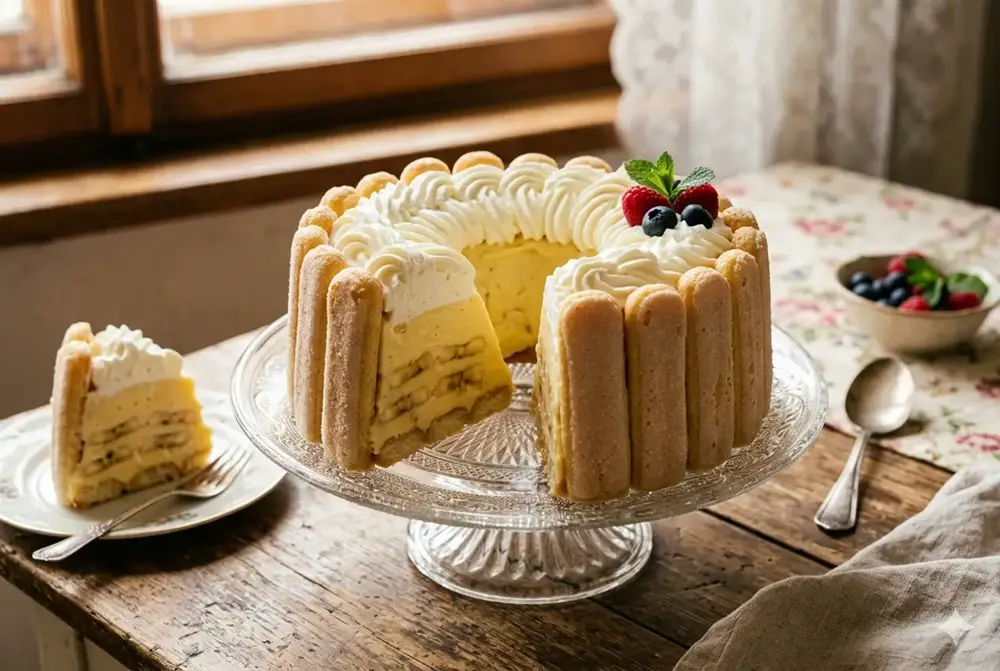
Yellow Bundt Cake with Bananas
Ladyfingers soaked in rum and milk, layered with ripe banana slices and a rich vanilla egg yolk custard, set in a bundt mould and finished with whipped cream.